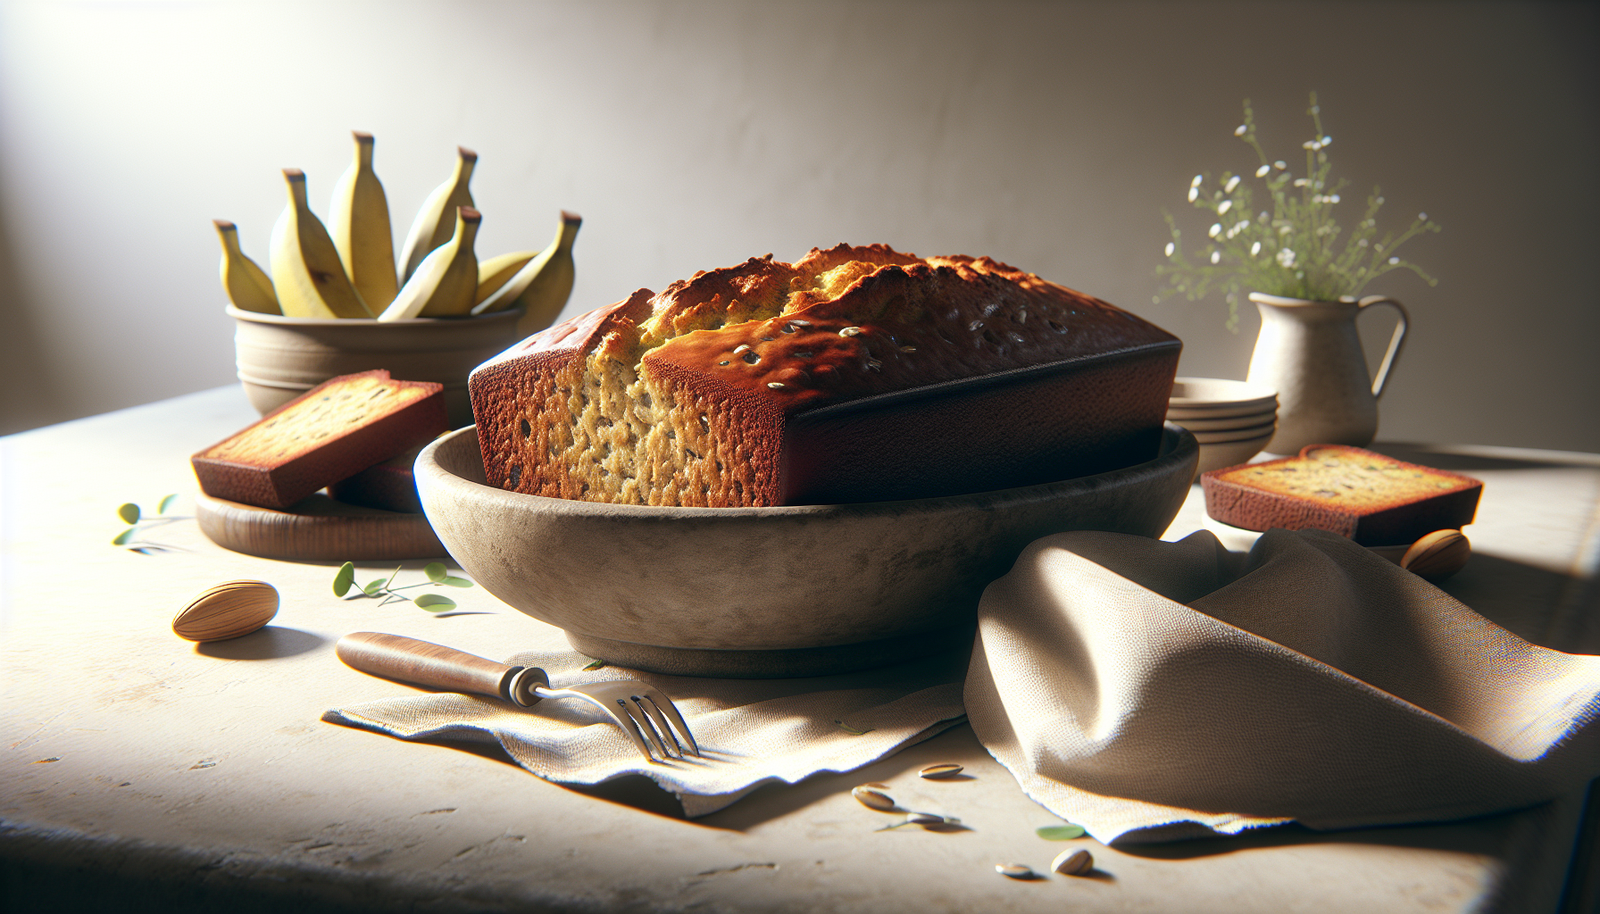
I’ve been making banana bread for years, and this kosher version has become my go-to whenever I have overripe bananas sitting on the counter. There’s nothing complicated about it, which is exactly why it works so well. The recipe uses oil instead of butter, making it naturally pareve, so you can serve it after any meal without worrying about dairy restrictions.
The key to really good banana bread is using bananas that are almost too ripe to eat. You want them with brown spots, maybe even a little mushy. Those bananas have concentrated sugars that make the bread incredibly moist and flavorful. I usually mash them with a fork, leaving a few small chunks for texture. Some people prefer to puree them completely, but I like finding little pieces of banana when I bite into a slice.
Why Overripe Bananas Make Better Bread
This recipe makes one standard loaf, perfect for Shabbos morning or tucked into lunch boxes during the week. The batter comes together quickly in one bowl, and you don’t need any fancy equipment. I’ve made it with kids helping, and they love mashing the bananas and stirring everything together. The smell while it bakes is incredible, and it fills the whole house with that warm, sweet aroma.
Perfect for Shabbos and Everyday Treats
Serve it plain for breakfast with coffee, or toast slices and spread a little honey on top for an afternoon snack. It keeps well wrapped on the counter for several days, and actually gets more moist as it sits. You can also freeze individual slices wrapped in plastic wrap for quick breakfasts later.
Ingredients
Method
- Preheat your oven to 350°F (175°C). Grease a 9x5 inch loaf pan with oil or cooking spray.
- In a large mixing bowl, whisk together flour, baking soda, and salt. Set aside.
- In another bowl, mash the bananas with a fork until mostly smooth but with some small chunks remaining.
- Add oil, sugar, eggs, vanilla, and water to the mashed bananas. Whisk until well combined.
- Pour the wet ingredients into the flour mixture. Stir gently with a wooden spoon until just combined. Don't overmix - a few streaks of flour are fine.
- Pour the batter into the prepared loaf pan and spread it evenly.
- Bake for 55-65 minutes, until a toothpick inserted in the center comes out with just a few moist crumbs attached.
- Cool in the pan for 10 minutes, then turn out onto a wire rack to cool completely before slicing.
Notes
You Might Also Like
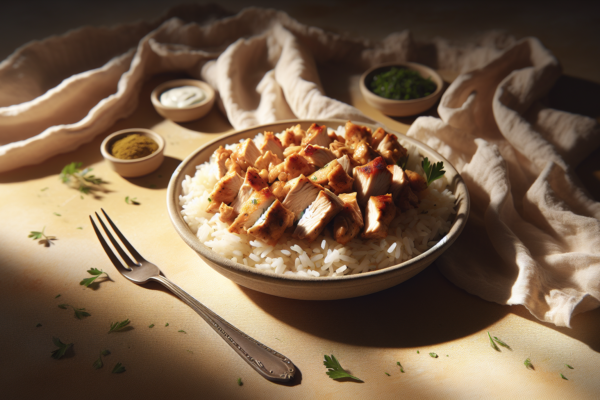
Easy Kosher Chicken Shawarma Bowls With Rice
Bring the flavors of Middle Eastern street food to your kitchen with...
View Recipe
Irresistible Honey Garlic Baked Chicken Wings
Dive into the deliciousness of Honey Garlic Baked Chicken Wings. Perfectly crispy,...
View Recipe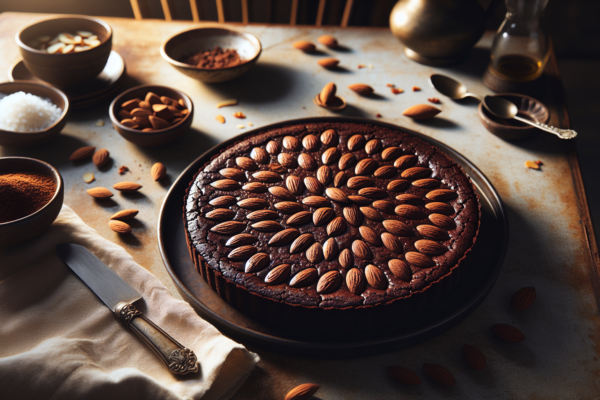
Rich Flourless Chocolate Almond Torte for Passover
This rich, flourless chocolate almond torte delivers the perfect ending to your...
View Recipe
Easy Kosher Chicken and Waffles Recipe for Shabbat Brunch
This kosher twist on the Southern classic combines crispy seasoned chicken with...
View Recipe