I first fell in love with khobz during a trip to Morocco’s bustling souks. There’s nothing quite like watching bakers pull these golden rounds from wood-fired ovens, their surfaces perfectly crisp while the inside stays pillowy soft. This traditional Moroccan bread has been a staple in North African kitchens for centuries, and once you taste it, you’ll understand why it’s remained virtually unchanged.
What sets khobz apart from other breads is its unique texture and the way it’s meant to be eaten. The slightly coarse semolina flour gives it character, while the long fermentation develops complex flavors you just can’t rush. I’ve adapted this recipe to work perfectly in home ovens, using a combination of bread flour and semolina that creates that authentic taste and texture. The key is patience during the rising process and getting your oven hot enough to create that signature crust.
Why Semolina Makes Khobz Special
This bread shines at every meal. I love tearing off pieces to scoop up tagines, but it’s equally wonderful with olive oil and za’atar for breakfast, or stuffed with leftover roasted vegetables for lunch. The round shape isn’t just traditional, it’s practical too. It makes sharing easy, and the flat profile means it won’t roll off your counter like other breads might.
When and How to Serve Moroccan Bread
You’ll want to plan ahead since the dough needs about two hours to rise properly, but most of that time is hands-off. The actual work involves just mixing, kneading, and shaping. I always make two loaves since they freeze beautifully, and having fresh khobz in the freezer means you’re never more than 10 minutes away from warm bread.

Ingredients
Method
- In a small bowl, dissolve the sugar in warm water. Sprinkle the yeast over the surface and let it sit for 5-10 minutes until foamy. If it doesn't foam, your yeast is dead and you'll need to start over.
- In a large mixing bowl, whisk together the bread flour, semolina flour, and salt. Make a well in the center and pour in the yeast mixture and olive oil.
- Using a wooden spoon or your hands, mix everything together until a shaggy dough forms. Turn the dough onto a lightly floured surface.
- Knead the dough for 8-10 minutes until it becomes smooth and elastic. The dough should be slightly tacky but not sticky. Add a little more flour if needed, but don't overdo it.
- Place the dough in a lightly oiled bowl, turning it to coat all sides. Cover with a damp towel and let rise in a warm place for 1-1.5 hours, or until doubled in size.
- Punch down the dough and divide it in half. Shape each portion into a smooth ball, then flatten into discs about 8 inches across and ½ inch thick.
- Place the shaped loaves on parchment-lined baking sheets. Cover with towels and let rise for another 30-45 minutes until puffy.
- Meanwhile, preheat your oven to 450°F. Place a shallow pan of water on the bottom rack to create steam.
- Just before baking, brush the tops lightly with water and sprinkle with sesame seeds and nigella seeds if using. Using a sharp knife, make shallow decorative slashes in a crosshatch pattern.
- Bake for 20-25 minutes until golden brown and hollow-sounding when tapped on the bottom. The internal temperature should reach 200°F.
- Cool on wire racks for at least 15 minutes before slicing. The bread is best served warm or at room temperature.
Notes
You Might Also Like
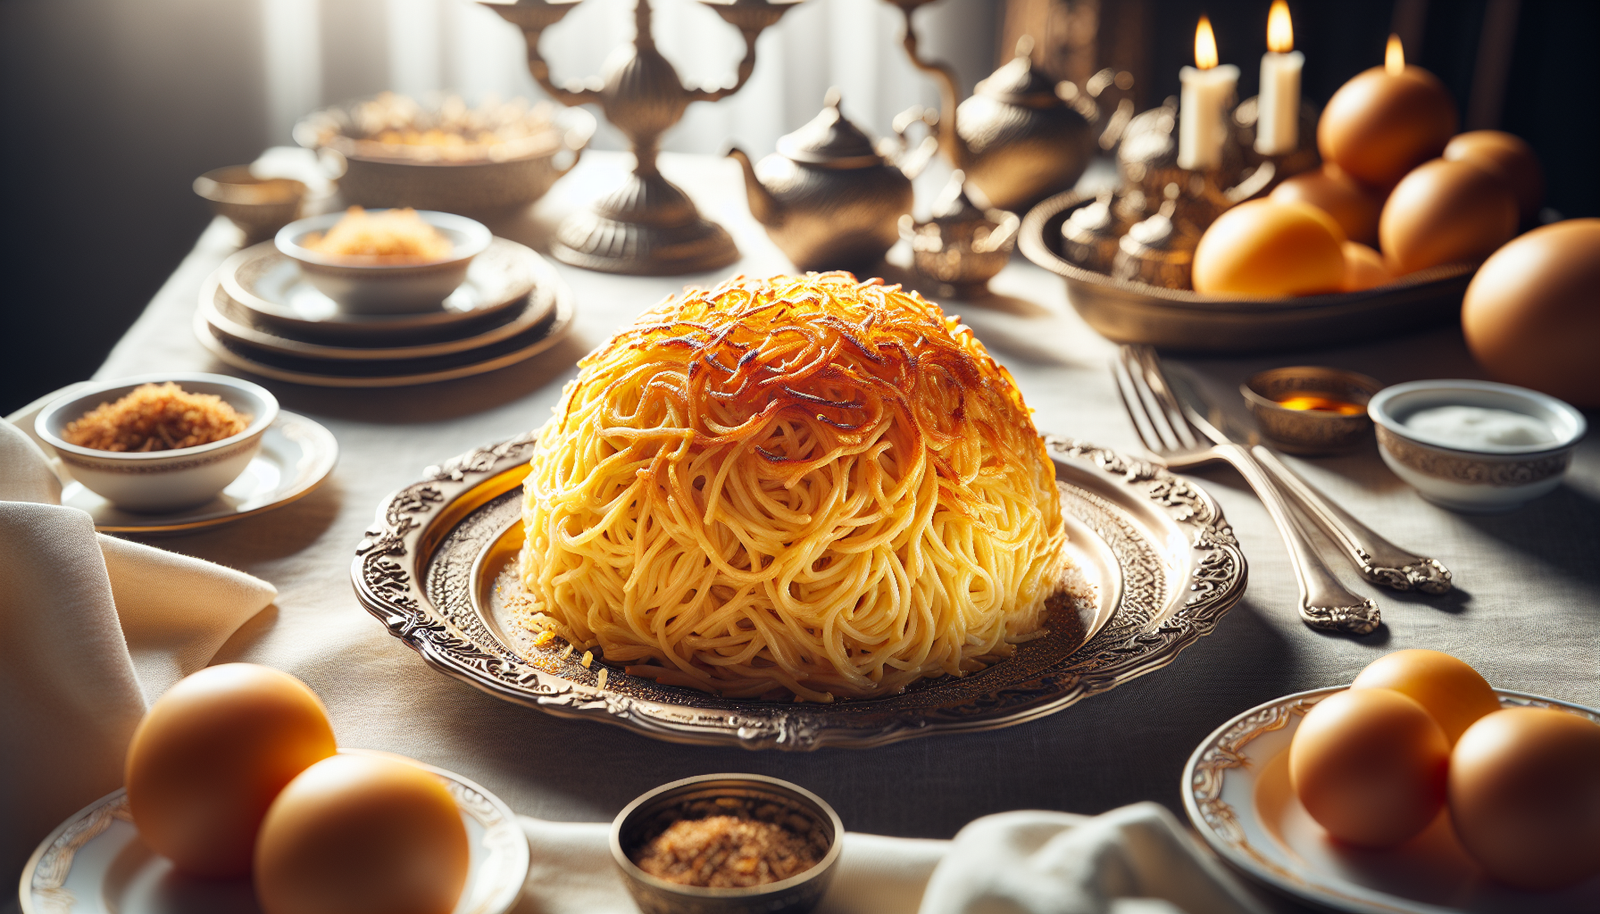
Classic Ashkenazi Sweet Noodle Kugel Recipe
Kugel is a beloved dish in Ashkenazi Jewish cuisine, known for its...
View Recipe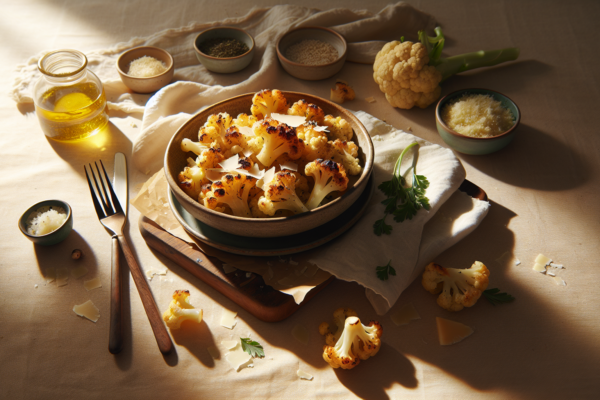
Easy Roasted Cauliflower With Parmesan (30-Minute Side)
Transform ordinary cauliflower into a golden, crispy side dish with just olive...
View Recipe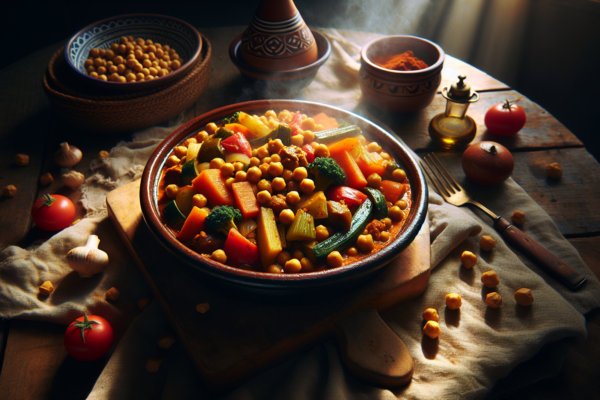
Spicy Moroccan Chickpea and Vegetable Tagine – Kosher Comfort Food
This aromatic Moroccan tagine combines chickpeas and vegetables with warming spices like...
View Recipe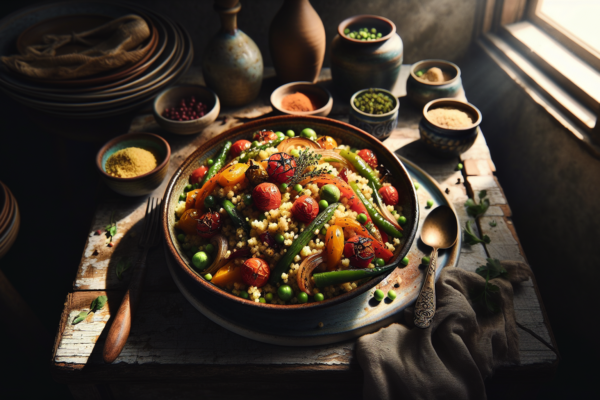
Israeli Couscous with Roasted Vegetables and Herbs – A Colorful Mediterranean Side
Pearl-sized Israeli couscous gets toasted until nutty, then mixed with caramelized roasted...
View Recipe