Purim always sneaks up on me, and suddenly I’m scrambling to put together mishloach manot packages that feel special without breaking the bank. These cake pops have become my go-to solution because they look fancy but use simple ingredients I usually have on hand.
I started making these a few years ago when my daughter wanted to help with Purim prep. Traditional cake pops can be tricky for little hands, but this version is much more forgiving. The secret is using a really moist vanilla cake as the base and mixing it with just enough frosting to hold everything together without making it too sticky. I’ve found that homemade cake works better than store-bought because you control the moisture level.
Making Purim Cake Pops That Actually Work
The coating is where you can get creative for Purim. I use white chocolate melts and food coloring to make them bright and festive. Purple and gold look gorgeous together, and you can even add sprinkles while the chocolate is still wet. The key is working quickly once you dip them because the chocolate sets fast. I learned this the hard way after my first batch looked like abstract art instead of smooth cake pops.
Decorating Tips for Beautiful Results
These keep well for several days in the fridge, which makes them perfect for preparing mishloach manot in advance. I usually make a double batch because they disappear quickly at home too. Pack them in clear cellophane bags tied with ribbon, or arrange them in small boxes with tissue paper. They travel well and always get compliments from friends and neighbors.

Ingredients
Method
- Preheat oven to 350°F (175°C). Grease an 8-inch square baking pan.
- In a medium bowl, whisk together flour, sugar, baking powder, and salt.
- In another bowl, combine oil, egg, milk, and vanilla extract. Mix well.
- Pour wet ingredients into dry ingredients and stir until just combined. Don't overmix.
- Pour batter into prepared pan and bake for 22-25 minutes, until a toothpick inserted in center comes out clean.
- Cool completely in pan, then turn out onto a cutting board.
- Crumble the cooled cake into fine crumbs using your hands or a food processor.
- Mix in frosting, 1 tablespoon at a time, until mixture holds together when squeezed but isn't sticky. You may not need all the frosting.
- Roll mixture into 24 balls, each about 1.5 inches in diameter. Place on a parchment-lined baking sheet.
- Refrigerate for at least 30 minutes or freeze for 15 minutes until firm.
- Melt white chocolate in microwave in 30-second intervals, stirring between each, until smooth. Divide into separate bowls if using multiple colors.
- Add food coloring to create desired colors, stirring until evenly distributed.
- Dip each cake pop stick about 1/2 inch into melted chocolate, then insert into a cake ball, pushing about halfway through.
- Return to refrigerator for 10 minutes to set the connection.
- Working one at a time, dip each cake pop into melted chocolate, letting excess drip off. Tap gently on rim of bowl to remove excess.
- Add sprinkles immediately if using, while chocolate is still wet.
- Stand cake pops in a styrofoam block or cake pop stand to dry completely, about 15 minutes.
Notes
You Might Also Like
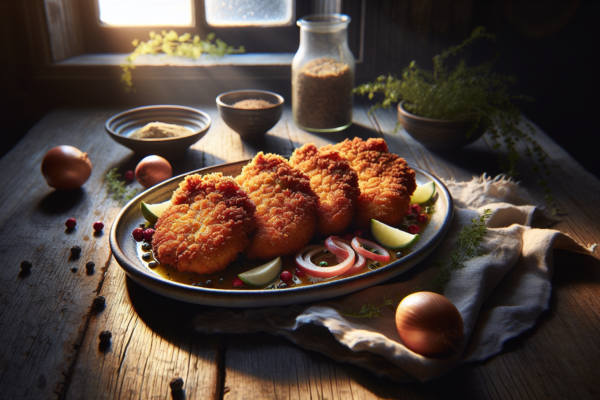
Crispy Kosher Chicken Cutlets: A Savory Delight
Delight in these crispy kosher chicken cutlets, perfect for a family dinner...
View Recipe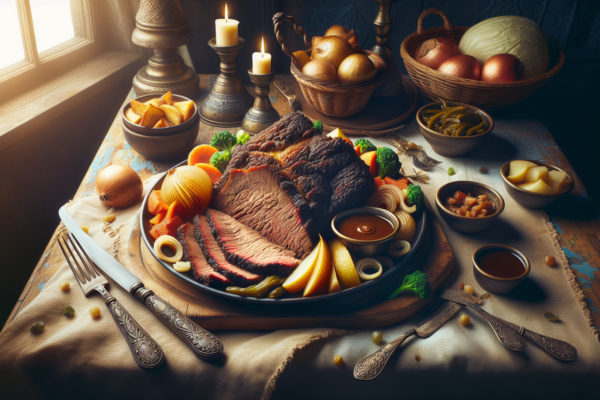
Perfectly Braised Kosher First Cut Brisket
Discover the secrets to making a perfectly tender kosher first cut brisket....
View Recipe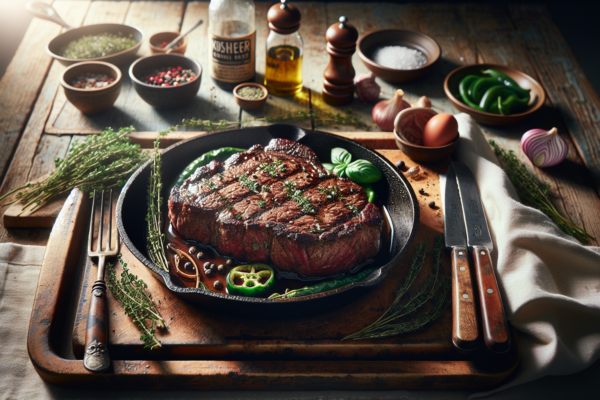
Savory Kosher Minute Steak with Herb Marinade
Experience the rich flavors of savory kosher minute steak, marinated with fresh...
View Recipe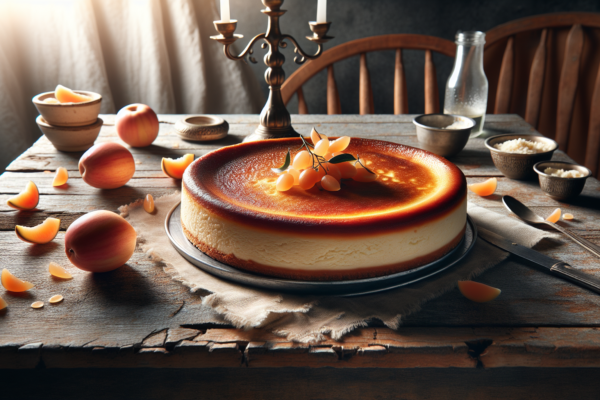
Pareve Cheesecake Recipe: Creamy Dairy-Free Dessert Perfect for Shavuot
This dairy-free cheesecake delivers all the creamy richness of traditional cheesecake using...
View Recipe